Assign ticket to multiple agents
Assign tickets to Microsoft 365 group
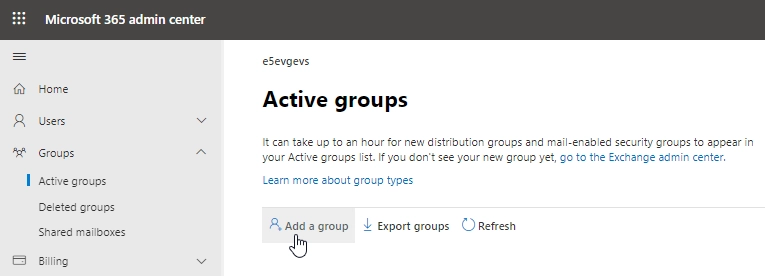
Microsoft 365 group is a tool for collaboration and sharing resources within your tenant. You can assign tickets to existing ones what makes it possible for all group members to receive notifications about new replies in a ticket. If you do not have the one you would like to use in HelpDesk, create it. Open the list of active groups in Microsoft 365 admin center and add a new one.
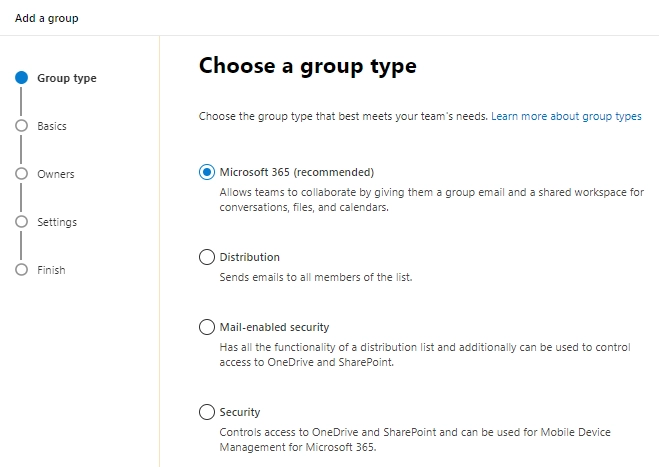
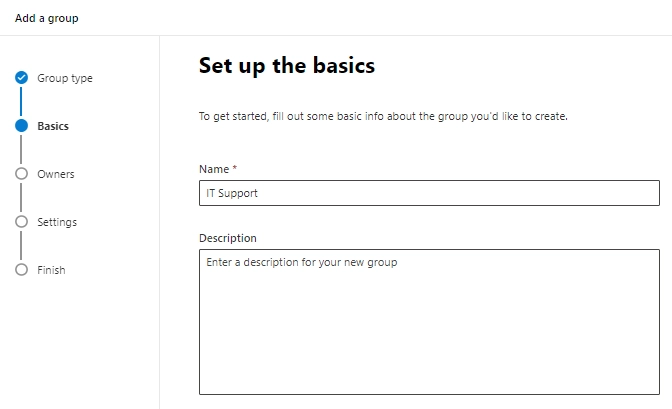
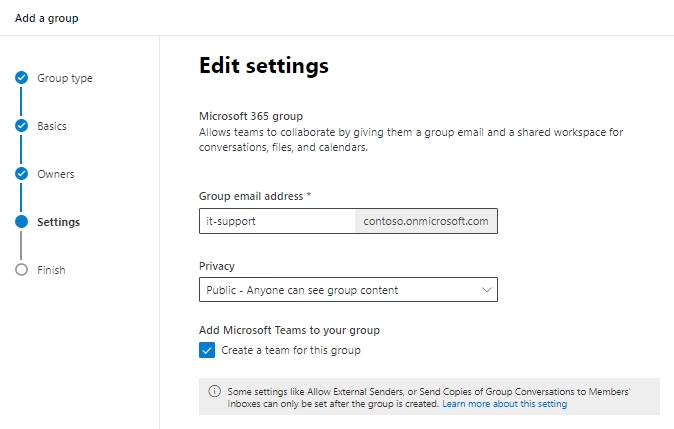
Configure the group going through the all wizard steps. If required, you can set any group type other than Microsoft 365. But this one provides you with all advantages of the Microsoft services.
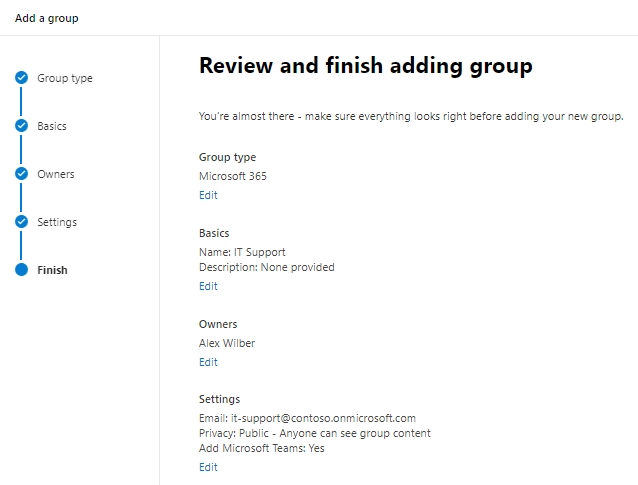
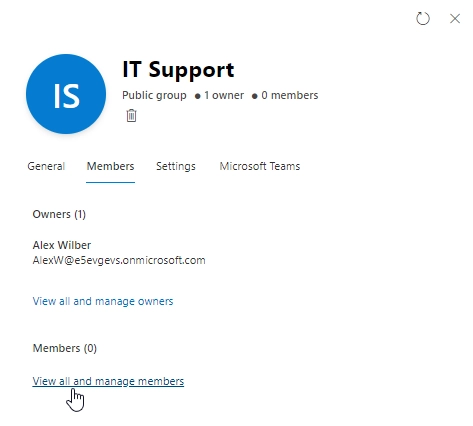
After you have created the group, open it for further set-up.
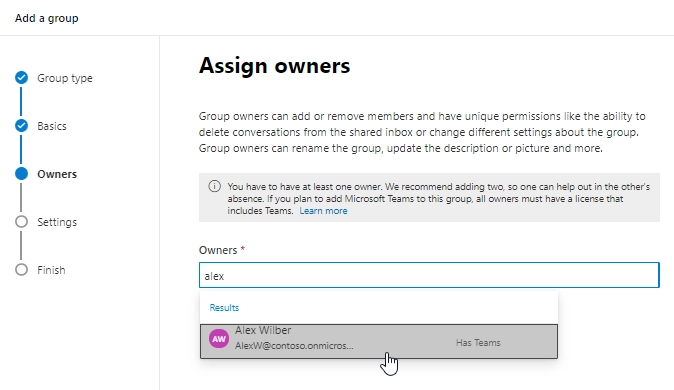
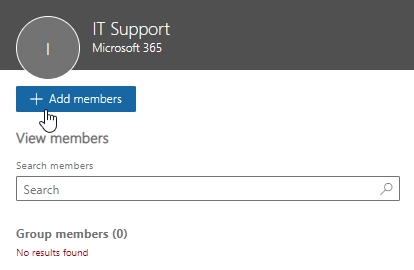
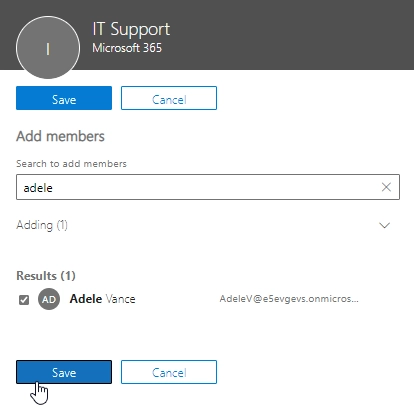
Add new members to the group.
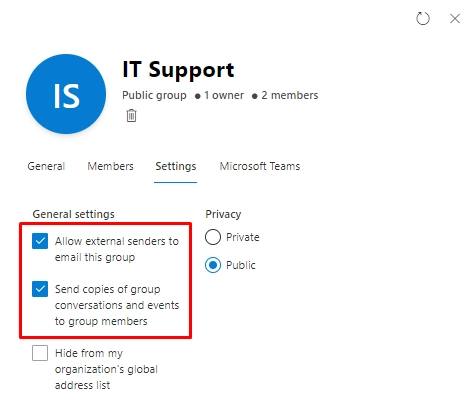
It is required to allow receiving external messages (HelpDesk notifications). If the members should receive their copies, check the accordant option too.
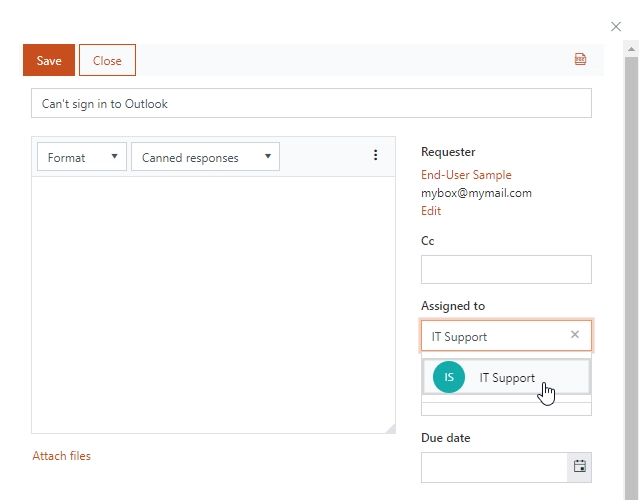
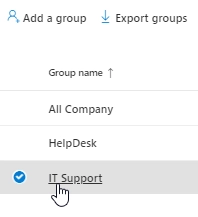
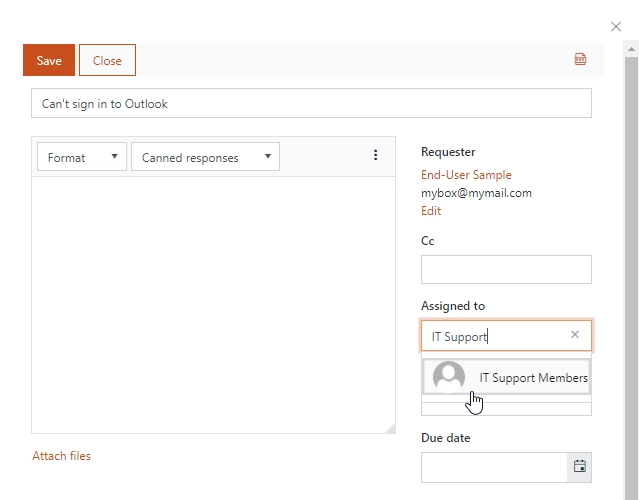
Now, you can assign a ticket to the newly created Microsoft 365 group.
Assign tickets to SharePoint group
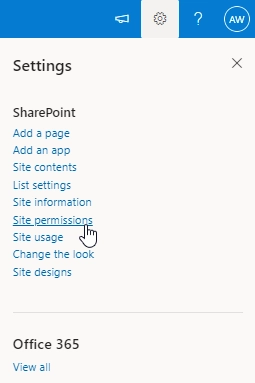
SharePoint group is a pool of SharePoint users with the same permission level. If you would like to assign a ticket to a group, you need to create the one. For that, click on the Settings wheel and go to the Site permissions.
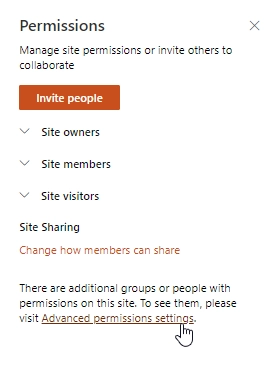
Click on Advanced permissions.
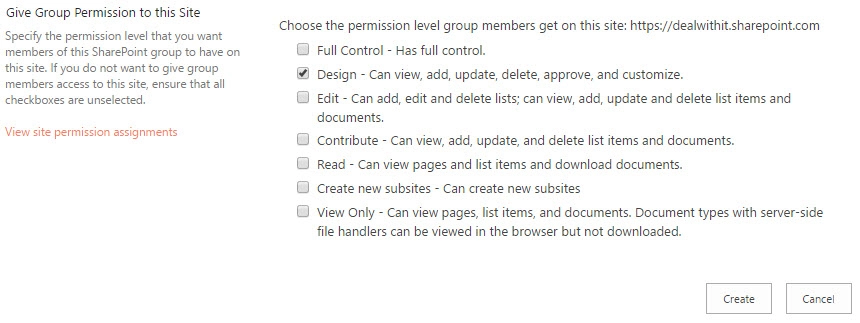
Under site permissions, you can find predefined groups with different permission levels. SharePoint creates them automatically with a site. You need to create a new group, so click on Create Group.

You can organize users into any number of groups.
Note
HelpDesk will send notifications to the group members only if you allow everyone to view its membership.
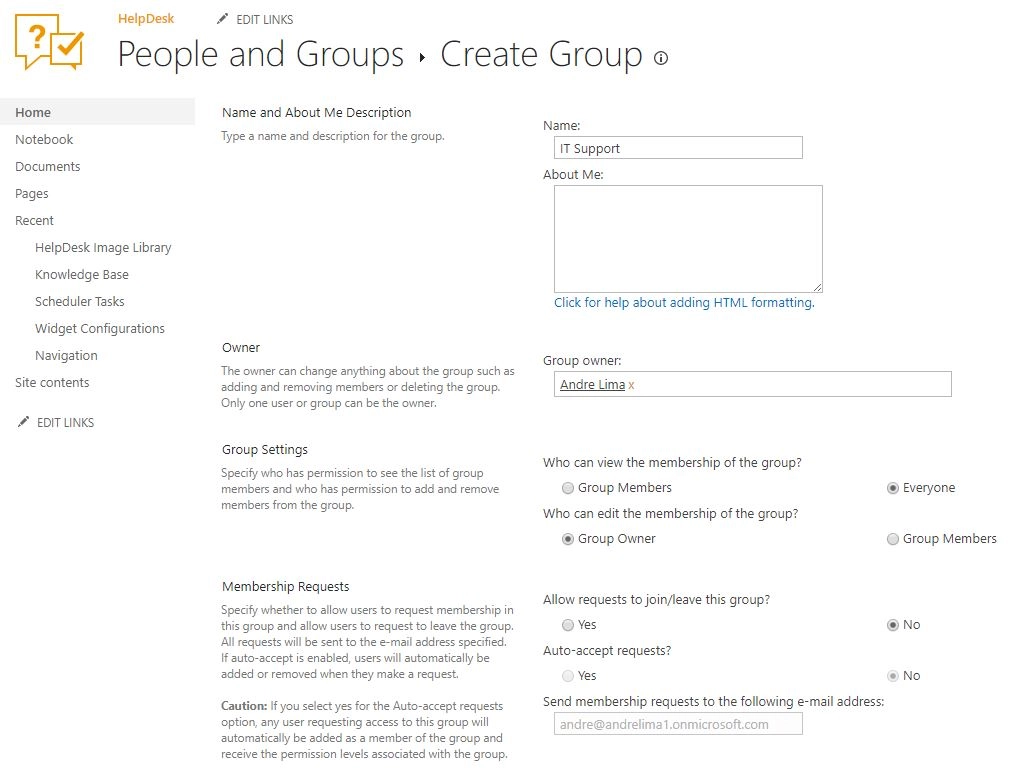
You can choose any permission level depending on what level of access you need.
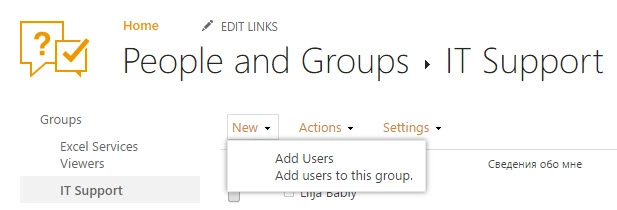
To add new users to your group, select Add users in the dropdown menu.
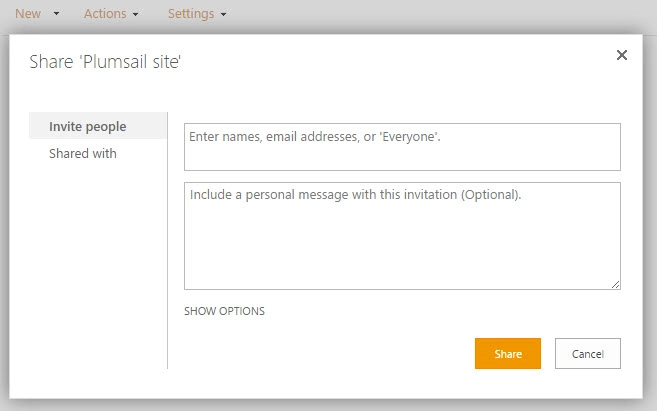
In Share dialog enter names or e-mail addresses of users that you want to add to the group. You can even add external users to SharePoint Online groups if they have Microsoft Accounts. If you would like to add a personal touch, provide some text that will accompany the invitation.
Now you can assign tickets to the SharePoint group.